from PIL import Image
import matplotlib.pyplot as plt
import os
import glob
import torch
from torch.utils.data import Dataset
import skillsnetwork 

Objective
- How to create a dataset object.
Data Preparation with PyTorch
Crack detection has vital importance for structural health monitoring and inspection. We would like to train a network to detect Cracks, we will denote the images that contain cracks as positive and images with no cracks as negative. In this lab you are going to have to build a dataset object. There are five questions in this lab, Including some questions that are intermediate steps to help you build the dataset object. You are going to have to remember the output for some of the questions.
Table of Contents
- Imports and Auxiliary Functions
- Download data
- Examine Files
- Question 1:find number of files
- Assign Labels to Images
- Question 2 : Assign labels to image
- Training and Validation Split
- Question 3: Training and Validation Split
- Create a Dataset Class
- Question 4:Display training dataset object
- Question 5:Display validation dataset object
Estimated Time Needed: 25 min
Imports and Auxiliary Functions
The following are the libraries we are going to use for this lab:
We will use this function in the lab to plot:
def show_data(data_sample, shape = (28, 28)):
    plt.imshow(data_sample[0].numpy().reshape(shape), cmap='gray')
    plt.title('y = ' + data_sample[1])
Download Data
In this section, you are going to download the data from IBM object storage using skillsnetwork.prepare command. skillsnetwork.prepare is a command that’s used to download a zip file, unzip it and store it in a specified directory. Locally we store the data in the directory /resources/data.
await skillsnetwork.prepare("https://s3-api.us-geo.objectstorage.softlayer.net/cf-courses-data/CognitiveClass/DL0321EN/data/images/concrete_crack_images_for_classification.zip", path = "/resources/data", overwrite=True)Saved to '../../../../../data'We then download the files that contain the negative images:
Examine Files
In the previous lab, we create two lists; one to hold the path to the Negative files and one to hold the path to the Positive files. This process is shown in the following few lines of code.
We can obtain the list that contains the path to the negative files as follows:
directory="/resources/data"
negative='Negative'
negative_file_path=os.path.join(directory,negative)
negative_files=[os.path.join(negative_file_path,file) for file in  os.listdir(negative_file_path) if file.endswith(".jpg")]
negative_files.sort()
negative_files[0:3]
['/resources/data/Negative/00001.jpg',
'/resources/data/Negative/00002.jpg',
'/resources/data/Negative/00003.jpg']We can obtain the list that contains the path to the positive files files as follows:
positive="Positive"
positive_file_path=os.path.join(directory,positive)
positive_files=[os.path.join(positive_file_path,file) for file in  os.listdir(positive_file_path) if file.endswith(".jpg")]
positive_files.sort()
positive_files[0:3]
['/resources/data/Positive/00001.jpg',
'/resources/data/Positive/00002.jpg',
'/resources/data/Positive/00003.jpg']Question 1
Find the combined length of the list positive_files and negative_files using the function len . Then assign it to the variable number_of_samples
number_of_samples = len(positive_files) + len(negative_files)
number_of_samples40000Assign Labels to Images
In this section we will assign a label to each image in this case we can assign the positive images, i.e images with a crack to a value one and the negative images i.e images with out a crack to a value of zero Y. First we create a tensor or vector of zeros, each element corresponds to a new sample. The length of the tensor is equal to the number of samples.
Y=torch.zeros([number_of_samples])As we are using the tensor Y for classification we cast it to a LongTensor.
Y=Y.type(torch.LongTensor)
Y.type()'torch.LongTensor'With respect to each element we will set the even elements to class one and the odd elements to class zero.
Y[::2]=1
Y[1::2]=0
Question 2
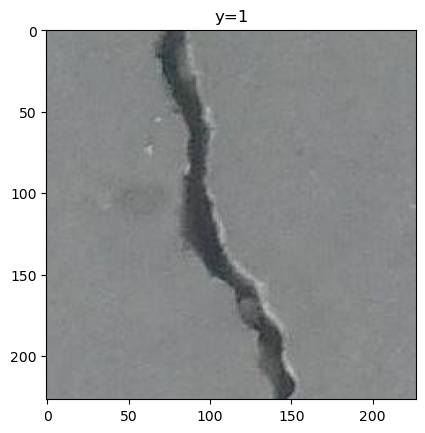
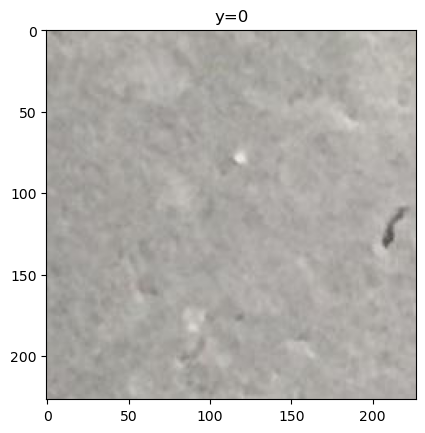
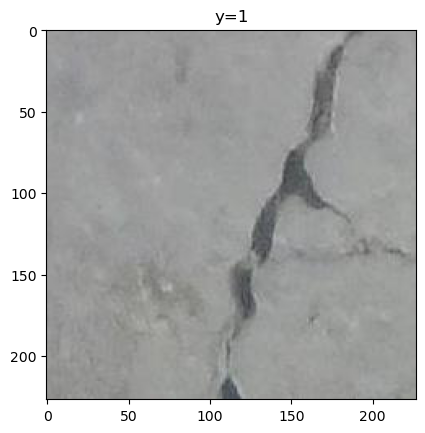
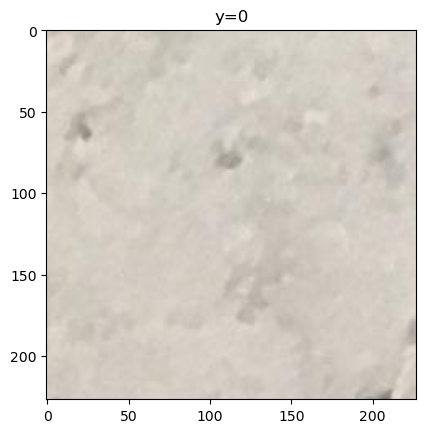
Create a list all_files such that the even indexes contain the path to images with positive or cracked samples and the odd element contain the negative images or images with out cracks. Then use the following code to print out the first four samples.
# Create the all_files list
all_files = [None] * (len(positive_files) + len(negative_files))
all_files[::2] = positive_files
all_files[1::2] = negative_files
code used to print samples:
for y,file in zip(Y, all_files[0:4]):
    plt.imshow(Image.open(file))
    plt.title("y="+str(y.item()))
    plt.show()
Training and Validation Split
When training the model we split up our data into training and validation data. It If the variable train is set to True the following lines of code will segment the tensor Y such at the first 30000 samples are used for training. If the variable train is set to False the remainder of the samples will be used for validation data.
train=False

if train:
    all_files=all_files[0:30000]
    Y=Y[0:30000]

else:
    all_files=all_files[30000:]
    Y=Y[30000:]
Question 3
Modify the above lines of code such that if the variable train is set to train is set to False the remaining samples are used for validation. In both cases reassign the values to the variable all_files, then use the following lines of code to print out the first four validation sample images.
train = False  # Set this variable accordingly

if train:
    train_files = all_files[0:30000]
    train_Y = Y[0:30000]

    for y,file in zip(Y, train_files[0:4]):
        plt.imshow(Image.open(file))
        plt.title("y="+str(y.item()))
        plt.show()

else:
    validation_files = all_files[30000:]
    validation_Y = Y[30000:]

    for y,file in zip(Y, validation_files[0:4]):
        plt.imshow(Image.open(file))
        plt.title("y="+str(y.item()))
        plt.show()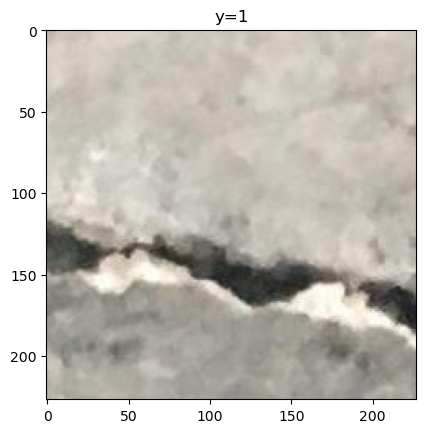
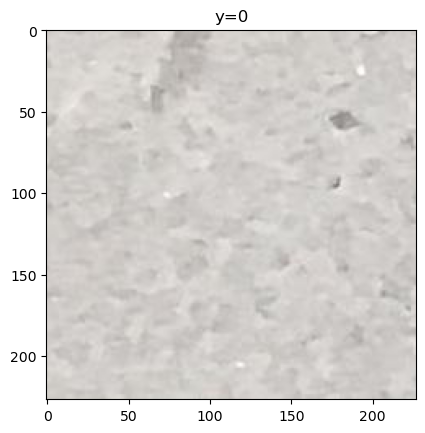
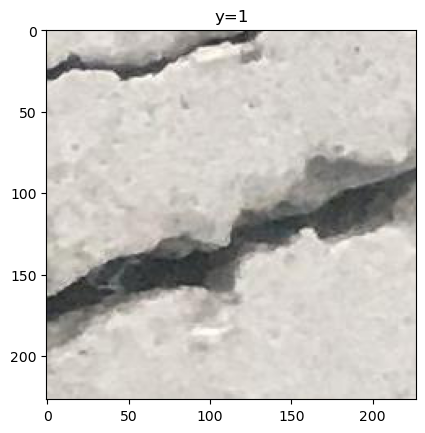
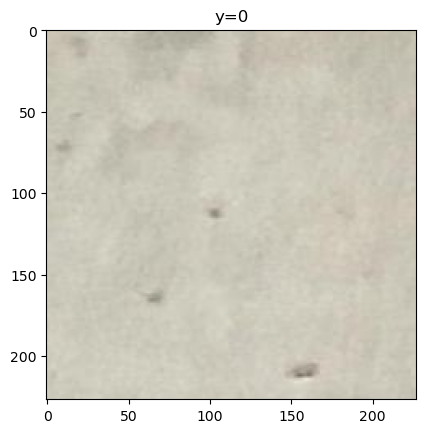
Just a note the images printed out in question two are the first four training samples.
Create a Dataset Class
In this section, we will use the previous code to build a dataset class.
Complete the code to build a Dataset class dataset. As before, make sure the even samples are positive, and the odd samples are negative. If the parameter train is set to True, use the first 30 000 samples as training data; otherwise, the remaining samples will be used as validation data.
class Dataset(Dataset):

    # Constructor
    def __init__(self,transform=None,train=True):
        directory="/resources/data"
        positive="Positive"
        negative="Negative"

        positive_file_path=os.path.join(directory,positive)
        negative_file_path=os.path.join(directory,negative)
        positive_files=[os.path.join(positive_file_path,file) for file in  os.listdir(positive_file_path) if file.endswith(".jpg")]
        positive_files.sort()
        negative_files=[os.path.join(negative_file_path,file) for file in  os.listdir(negative_file_path) if file.endswith(".jpg")]
        negative_files.sort()

        self.all_files=[None]*number_of_samples
        self.all_files[::2]=positive_files
        self.all_files[1::2]=negative_files
        # The transform is goint to be used on image
        self.transform = transform
        #torch.LongTensor
        self.Y=torch.zeros([number_of_samples]).type(torch.LongTensor)
        self.Y[::2]=1
        self.Y[1::2]=0

        if train:

            self.Y=self.Y[0:30000]
            self.len=len(self.all_files)
        else:

            self.Y=self.Y[30000:]
            self.len=len(self.all_files)


    # Get the length
    def __len__(self):
        return self.len

    # Getter
    def __getitem__(self, idx):


        image=Image.open(self.all_files[idx])
        y=self.Y[idx]


        # If there is any transform method, apply it onto the image
        if self.transform:
            image = self.transform(image)

        return image, y
class Dataset(Dataset):
# Constructor
def __init__(self,transform=None,train=True):
directory="/resources/data"
positive="Positive"
negative="Negative"
positive_file_path=os.path.join(directory,positive)
negative_file_path=os.path.join(directory,negative)
positive_files=[os.path.join(positive_file_path,file) for file in os.listdir(positive_file_path) if file.endswith(".jpg")]
positive_files.sort()
negative_files=[os.path.join(negative_file_path,file) for file in os.listdir(negative_file_path) if file.endswith(".jpg")]
negative_files.sort()
self.all_files=[None]*number_of_samples
self.all_files[::2]=positive_files
self.all_files[1::2]=negative_files
# The transform is goint to be used on image
self.transform = transform
#torch.LongTensor
self.Y=torch.zeros([number_of_samples]).type(torch.LongTensor)
self.Y[::2]=1
self.Y[1::2]=0
if train:
self.Y=self.Y[0:30000]
self.len=len(self.all_files)
else:
self.Y=self.Y[30000:]
self.len=len(self.all_files)
# Get the length
def __len__(self):
return self.len
# Getter
def __getitem__(self, idx):
image=Image.open(self.all_files[idx])
y=self.Y[idx]
# If there is any transform method, apply it onto the image
if self.transform:
image = self.transform(image)
return image, yQuestion 4
Create a Dataset object dataset for the training data, use the following lines of code to print out sample the 10th and sample 100 (remember zero indexing)
import matplotlib.pyplot as plt
from torchvision.transforms import ToTensor

# Assuming you have already defined your Dataset class

# Define the transformation
transform = ToTensor()

# Create the Dataset object for training data
dataset = Dataset(transform=transform, train=True)

# Define the samples to print
samples = [10, 100]

# Use the provided code to print out the samples
for sample in samples:
    plt.imshow(dataset[sample][0].permute(1, 2, 0))  # permute to change the order of dimensions
    plt.xlabel("y=" + str(dataset[sample][1].item()))
    plt.title("Training data, Sample {}".format(int(sample)))
    plt.show()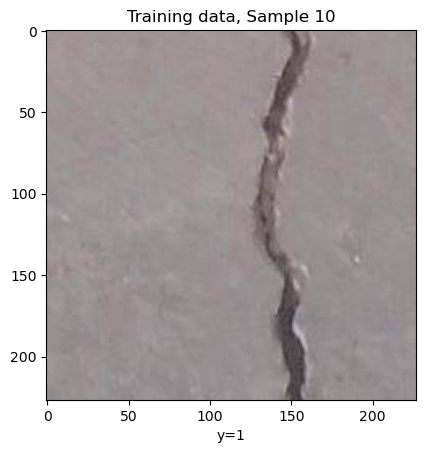
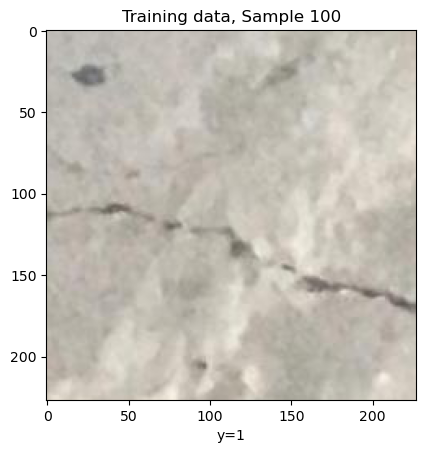
for sample  in samples:
    plt.imshow(dataset[sample][0])
    plt.xlabel("y="+str(dataset[sample][1].item()))
    plt.title("training data, sample {}".format(int(sample)))
    plt.show()
We now have all the tools to create a list with the path to each image file. We use a List Comprehensions to make the code more compact. We assign it to the variable negative_files , sort it in and display the first three elements:
Question 5

Create a Dataset object dataset for the validation data, use the following lines of code to print out the 16 th and sample 103 (remember zero indexing)


for sample  in samples:
    plt.imshow(dataset[sample][0])
    plt.xlabel("y="+str(dataset[sample][1].item()))
    plt.title("validation data, sample {}".format(int(sample)))
    plt.show()


About the Authors:

Joseph Santarcangelo has a PhD in Electrical Engineering, his research focused on using machine learning, signal processing, and computer vision to determine how videos impact human cognition. Joseph has been working for IBM since he completed his PhD.

Change Log


Date (YYYY-MM-DD)
Version
Changed By
Change Description


2020-09-18
2.0
Shubham
Migrated Lab to Markdown and added to course repo in GitLab


Copyright © 2018 cognitiveclass.ai. This notebook and its source code are released under the terms of the MIT License